Tell us if this sounds familiar – you lose connection in the middle of a complicated task you are performing on a remote server. That means you have wasted hours of work, and you don’t want that to happen.
When it comes to helpful Linux utilities, you won’t find many others that can assist when you are in trouble like the “screen” package. If you learn how to use the Linux screen, you will also learn how to get around the above-mentioned problem.
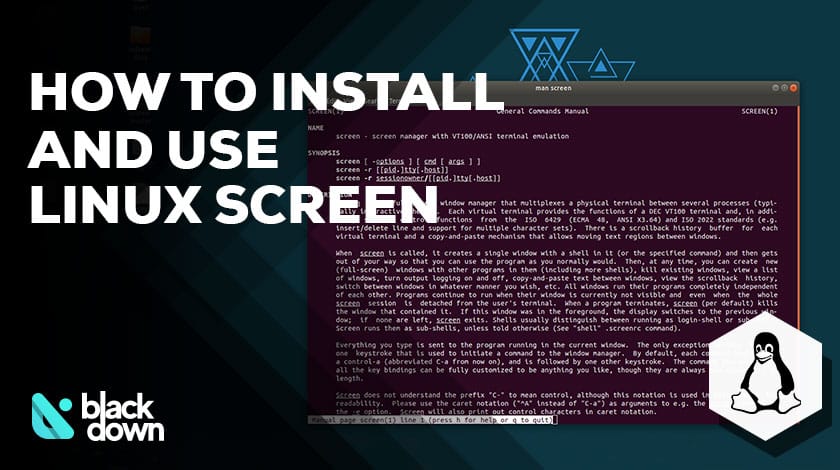
What Is Linux Screen?
Some people also call it GNU Screen. Whatever the name is, its role remains the same – being a terminal multiplexer. That means you can open multiple virtual terminals (windows) within the same session. The greatest thing about this utility is that all processes continue to run even when you switch between windows or lose your connection.
How to Install Linux Screen
The best Linux-based operating systems out there come with this utility pre-installed. It may be wise to check if your OS already has the package running. Do so by typing:
screen –version
The system will immediately display a response, including the version of the screen package installed.
In case you need to set up the screen utility, use one of the following commands depending on your operating system:
- “apt install screen” – for Debian and Ubuntu
- “yum install screen” – for Fedora and CentOS
Please note that you will need the super-user permission to complete the installation process.
How to Use Linux Screen
The first thing we want to do is to initiate a screen session. To do that, you use the following line:
screen
As soon as you do that, a session will initiate, and a new window will open along with a shell.
If you want to get to know what you can do with the utility, try typing this in the command line:
ctrl+a ?
Make sure to take a minute or two and check out the available options so that you would better understand what you can do with this amazing utility.
How to Name Every Session?
When you have several screen sessions in progress, you might need to give them names so that you can easily make a difference between them. Here is how to initiate a session with a chosen name:
screen -S your_session
We do not suggest using “session1, session2” and so on. Instead, try to use different words and be as descriptive as possible. That will make it a lot easier to find your way around.
What You Should Know When Working with Linux Screen
Initiating a new session will create one screen with a shell. Whenever you see fit, you can add another window. Type the following command:
ctrl+a c
The above line will create another window with a shell.
Instead of “c,” you can also use other functions within your screen sessions. Here is their list:
- 0 – Switch to the particular window (use any number from 0 to 9 depending on how the desired window is marked).
- “ – List all available windows.
- A – Rename the window that is currently active.
- | – Split active region into two vertical regions.
- S – Split active region into two horizontal regions.
- Tab – Change the focus of the input to the following region.
- X – Close the active region.
- Q – Close all other regions and keep only the active one.
- Ctrl +a – Switch between the active and the previous region.
Feel free to practice for a while until you learn all these commands by heart as that will make using Linux screen more manageable.
How to Detach and Reattach to Linux Screen
The desired command to detach is this one:
ctrl+a d
Please note that the program that was running in the session will not stop running.
You can also reattach by using this line:
screen -r
If you want to specify which session you want to attach to, use the following command:
screen -r1
Replace “1” with the ID of the desired session.
If you want to take a look at what screen sessions are running at any given moment, use the below line:
screen -ls
It is the classic list command, and the system will immediately display the results. You can now use the ID in the above reattach command.
Conclusion
That rounds up our guide on using Linux screen. We are sure all those using the terminal often will appreciate this utility as it can be a huge timesaver and extremely useful. Feel free to try out different options and see how they work. It shouldn’t be difficult to learn the basics, and you should figure out everything in a matter of minutes.